Guide to Baking and Finishing Polymer Clay Projects

Guide to Baking and Finishing Polymer Clay Projects

Polymer clay is a versatile material used in a range of creative projects, from intricate jewelry to decorative sculptures. Baking it properly is key to ensuring that your masterpiece is durable and long-lasting. Here's a simple guide on how to bake and finish your polymer clay creations, using popular brands like Sculpey and Mont Marte.

About Polymer Clay

Polymer clay is a soft, synthetic material that hardens when baked at low temperatures. It remains pliable until it is cured in an oven, making it ideal for intricate designs. Once baked, polymer clay retains its shape, color, and durability.

How to Bake Polymer Clay

Baking polymer clay is easy, but precision with temperature and time is essential. Whether you’re using a conventional oven or a toaster oven, careful heat control will ensure you don’t over- or under-bake your piece. Testing small pieces before baking larger ones is a great way to check how your oven handles polymer clay.

Back to blog

Baking Instructions for Different Products

Sculpey III & Super Sculpey

  • Bake at 130°C (275°F) for 15 minutes per 6 mm (1/4 inch) thickness.

Sculpey Premo & Sculpey Souffle:

  • Bake at 130°C (275°F) for 30 minutes per 6 mm (1/4 inch) thickness.

Mont Marte Make n Bake Polymer Clay:

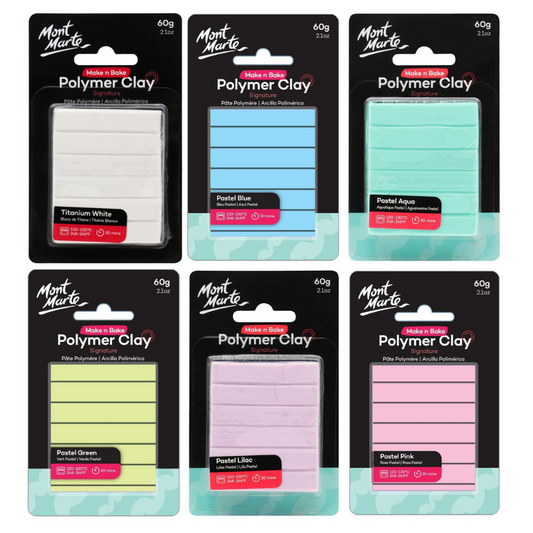
  • Bake at 120-130°C for 30 minutes per 6 mm (1/4 inch) thickness.

FIMO Kids Polymer Clay:

  • Bake at 110°C for 30 minutes.

General Baking Tips:

  • Use an Oven Thermometer: Ovens can vary in actual temperature, especially toaster ovens. Using an oven thermometer ensures the clay is baked at the correct temperature.
  • Avoid Fan-Forced Ovens: Fan-forced ovens can cause uneven heating, making it harder to control the temperature.
  • Bake on a Lined Tray: Place your polymer clay pieces on an oven-safe tray lined with parchment paper or a ceramic tile to prevent direct heat damage.

How to Finish Polymer Clay

Once your polymer clay has been baked and cooled, you can refine and finish your pieces for a polished, professional look through sanding, drilling, carving and glazing.

Sanding and Polishing

Use fine-grit sandpaper to smooth any rough areas or edges.
Remove any dust or particles with a soft, damp, lint-free cloth before proceeding to the next step.

Drilling and Carving

After baking, polymer clay is strong enough to be drilled or carved. You can use a fine-tipped drill to add holes for jewelry or other decorative elements.

Glazing and Varnishing

To add a protective, polished finish, apply a Gloss or Satin Glaze to your cooled clay pieces. These glazes will add shine and durability. Always ensure the piece has completely cooled before glazing.

Conclusion

Baking polymer clay requires careful attention to temperature and timing, but following these guidelines will help ensure success. Whether using Sculpey, Premo, or Mont Marte, taking the time to test, bake, and finish your pieces will result in high-quality, long-lasting creations.