Zentangle-Inspired Bug Art
Adapted from the original blog post by Uni Pin UK
Black and white artwork doesn’t have to be plain. In fact, a touch of monochrome can bring a sleek, contemporary edge to your projects. This is particularly true when you try zentangle-style patterns on current shapes and motifs. Why not give it a go with PIN pens?

Try zentangle-inspired art with PIN pens
Bugs and beetle illustrations never go out of style and look amazing when paired with black and white drawing techniques. In this project, you’ll learn how to create bug-themed pieces that look incredibly professional. Don’t fret, they’re much easier than they seem. Once you master the basics, you’ll find yourself really getting into the swing of it.

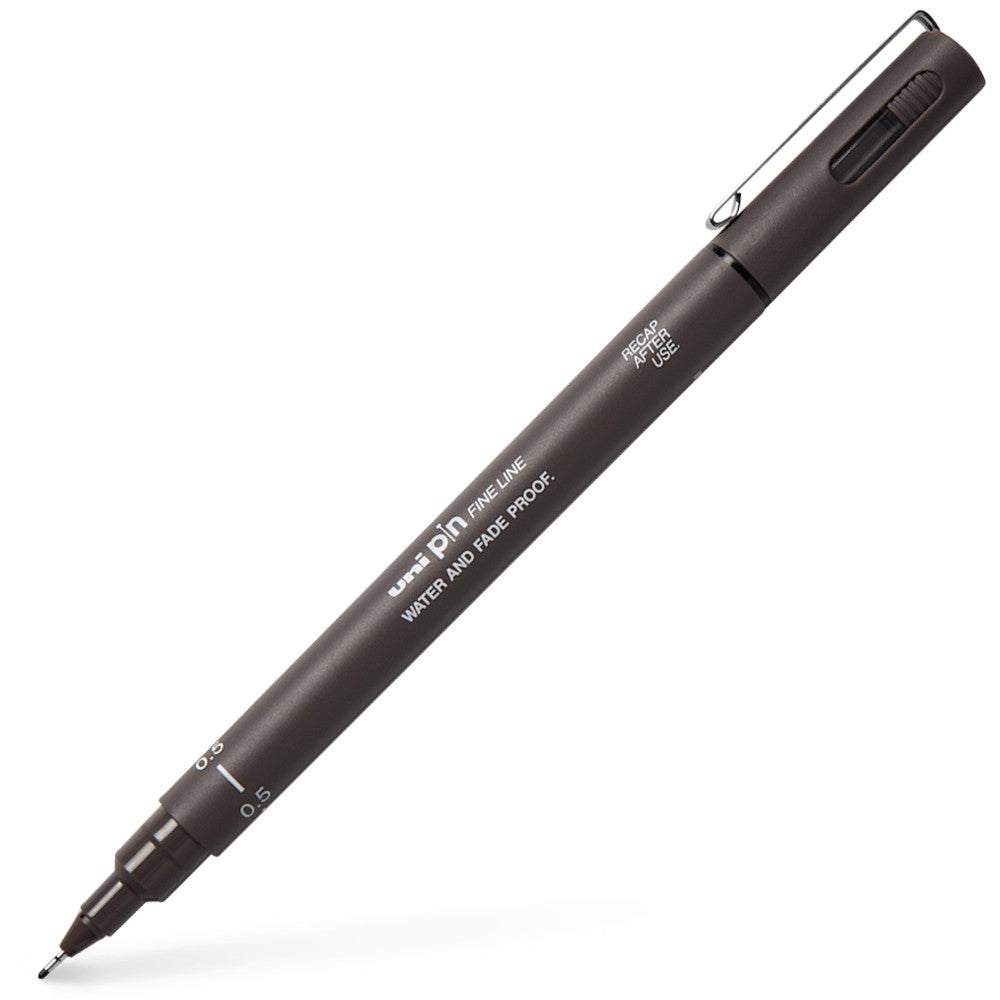
Make your mark
A simple change in pen strokes and filling techniques can deliver real impact. Uni-PIN pens are perfect for this because the variety of nib sizes means you can draw lines and marks in all sorts of widths. We used 0.1, 0.3 and 0.5 nibs. The 0.1 nib is great for fine details and tiny dots, the 0.3 nib is a bit thicker, and the 0.5 nib lets you fill larger spaces with a bold black while maintaining firm, crisp lines.

Something to keep
This project is definitely a keeper. Uni-PIN pens feature Super Ink Technology that preserves the richness of your black ink, helping your masterpiece stay vibrant without fading. They also prevent ink bleeding through your pages, so you can freely scribble and sketch without damaging the sheet underneath.

Try zentangle-inspired art with PIN pens
We’ve provided a template with five beetle outlines for you to trace and transfer onto your chosen paper. Your job is to experiment and have fun with them. How detailed you get is entirely your choice. This is a great opportunity to practise slow, mindful colouring, so take it easy and don’t rush.
You will need
-
Uni Pin Drawing Pen 5 piece pack black (01, 02, 03, 05 and 08)
- Good quality drawing paper
- HB and 2B pencil
- Tracing paper
- Masking tape
- Eraser
Practise your shapes
- On your scrap paper, use the 0.5 pen to draw circles, hearts, triangles and petals. Then fill these shapes using each of the three nib sizes with different marks and strokes.
- Have a go at drawing straight and curved lines in horizontal and vertical directions. Note how changing the distance between the lines alters the overall look. Test out layering dots and dashes around or between your lines. You can also try adding scallops by sketching small semi-circles along an edge.
- Keep playing on your scrap paper by making zigzag and criss-cross lines, then see how the effect varies with different nib sizes. Try overlapping lines at random angles for a net-like effect.
Transfer your beetles
- Download, print and trace our free bug template onto tracing paper using a 0.5 PIN pen.
- Flip the tracing paper over, then cover the back of your drawing with 2B pencil.
- Secure the tracing paper onto your main paper with masking tape, making sure the pencil side is facing down.
- With a sharp HB pencil, carefully go over each line using enough pressure to transfer the image below.
Fill in and go for it!
- Decide which sections you’d like fully black and fill them using your 0.5 PIN. Then use your 0.1 PIN to trace over your pencil outlines. Leave it to dry for a moment, then gently rub away any pencil marks.
- Once your bugs are outlined in black and white, you can add finer details using any of the pen nibs. Follow the provided design or come up with your own patterns using the techniques you practised earlier. The main idea is to relax, be creative and enjoy the process.